Introduction
As we learnt earlier Data transformation is an essential task for data analysts, enabling the extraction of valuable insights from raw data. One crucial aspect of data transformation in Power BI is creating new columns. This guide will delve into the process of creating new columns in Power BI using the Power Query Editor, with practical examples and script snippets, tailored for data analysts.
What is Creating a New Column?
Creating a new column involves adding a new data field to an existing dataset based on calculations, transformations, or combining existing columns. This technique is often used to derive additional information, such as calculating sales tax from sales amounts or combining first and last names into a full name. Creating new columns enhances data analysis by providing new insights and perspectives.
Importance of Creating New Columns
Creating new columns allows data analysts to:
- Derive meaningful insights and metrics.
- Perform complex calculations not available in the original dataset.
- Enhance the accuracy and depth of data analysis and visualization.
Step-by-Step Process for Creating New Columns in Power BI
1. Loading Data into Power BI
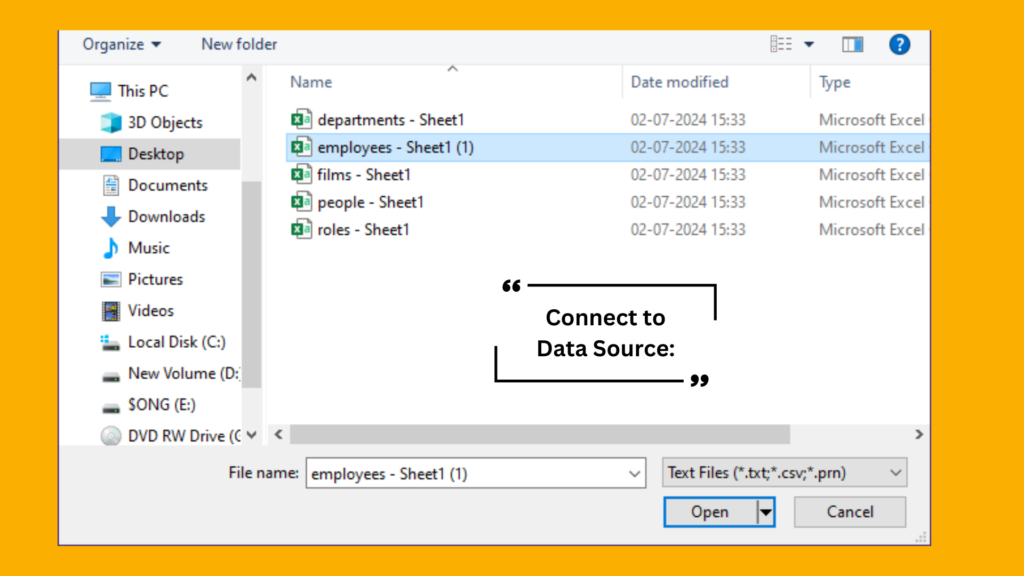
Begin by loading your dataset into Power BI. You can import data from various sources such as Excel, SQL databases, and web data.
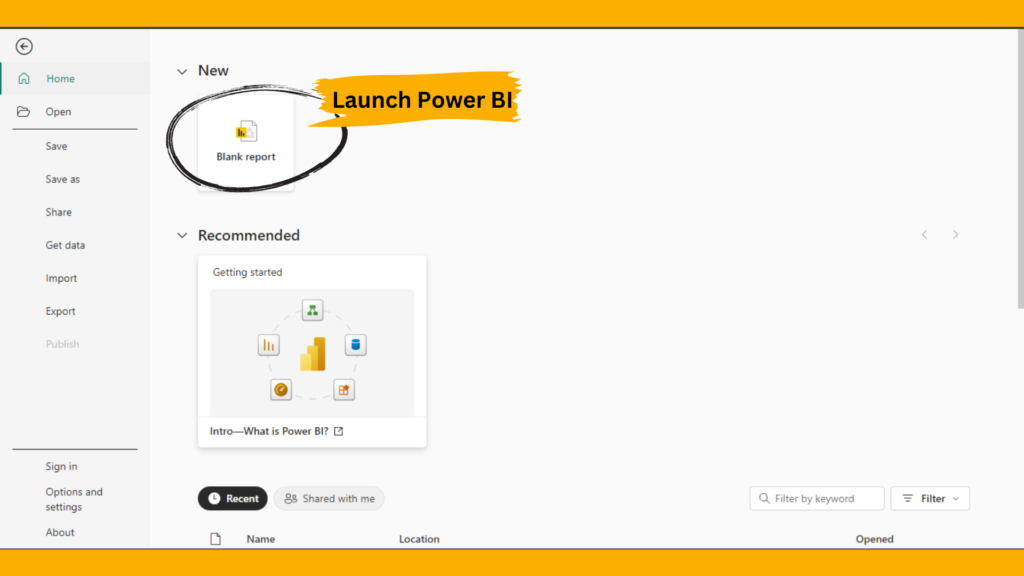
- Open Power BI Desktop.
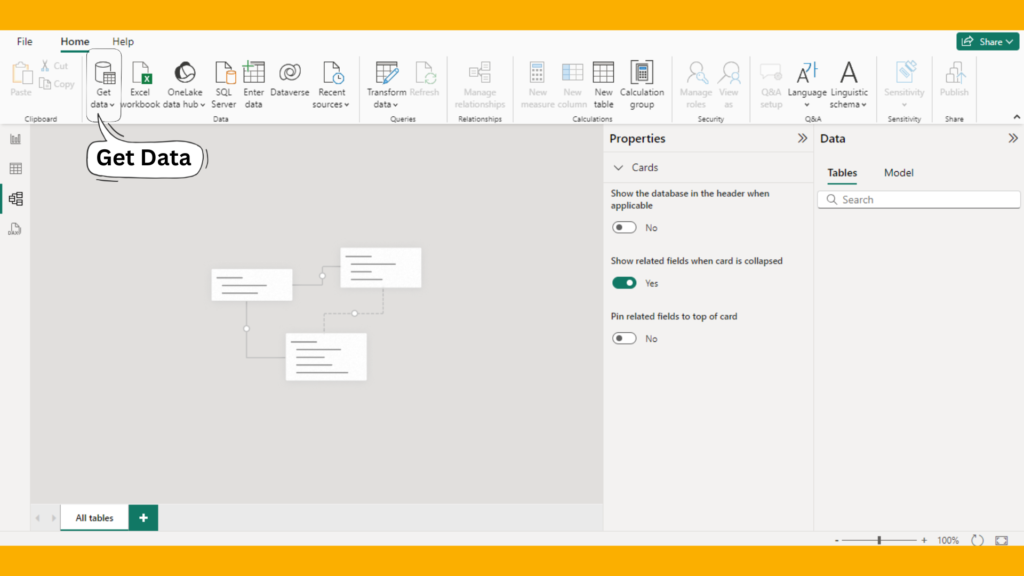
2. Click on Get Data from the Home ribbon.
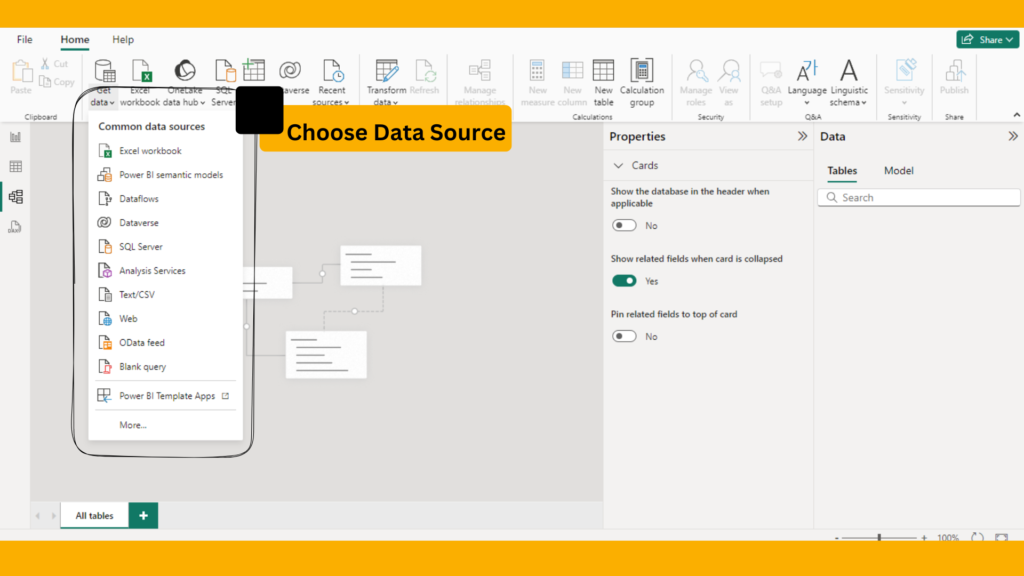
3. Select your data source and follow the prompts to load the data.

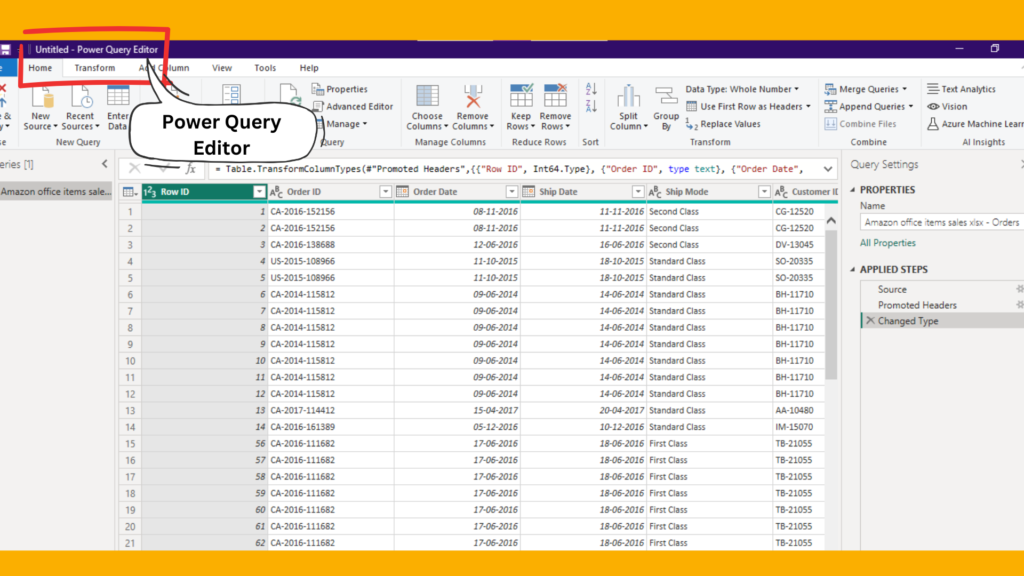
2. Opening the Power Query Editor
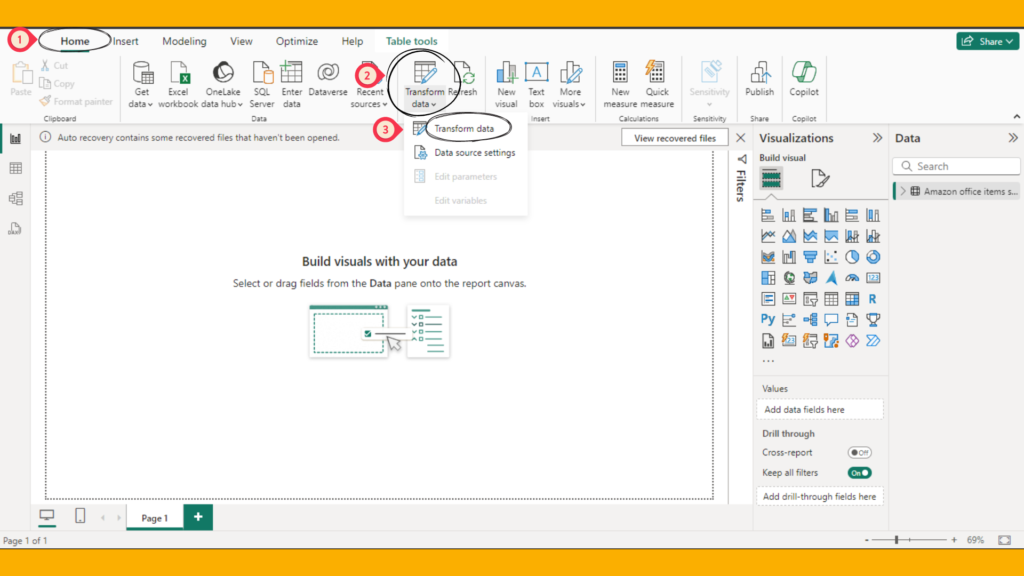
Once your data is loaded, access the Power Query Editor to start creating new columns.
- In Power BI Desktop, navigate to the Home tab.
- Click on Transform Data to open the Power Query Editor.
3. Creating a Custom Column
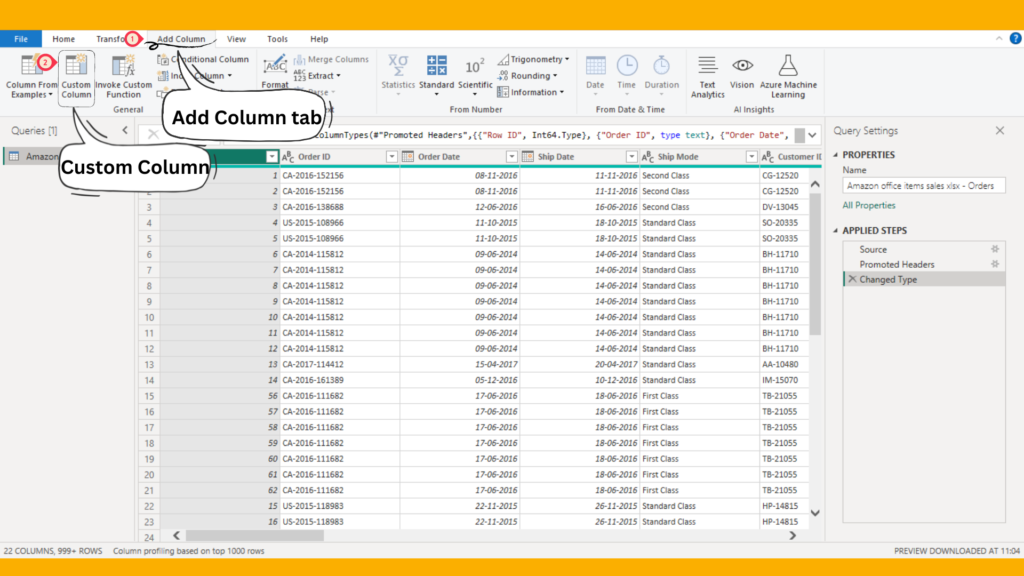
In the Power Query Editor, you can create a custom column using various functions and expressions.
- In the Power Query Editor, go to the Add Column tab.
- Click on Custom Column.
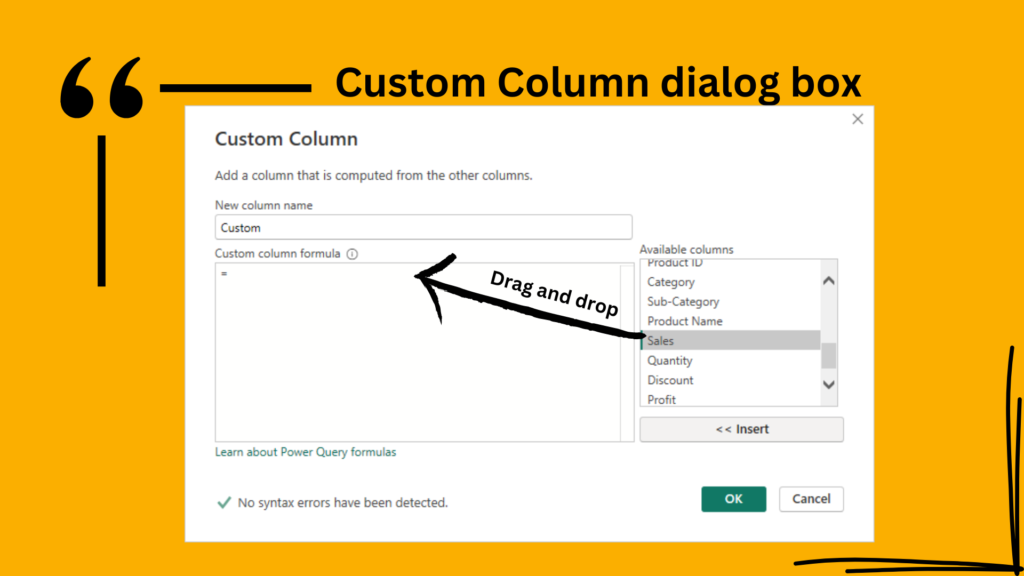
3. In the Custom Column dialog box, enter the following details And follow the given steps:
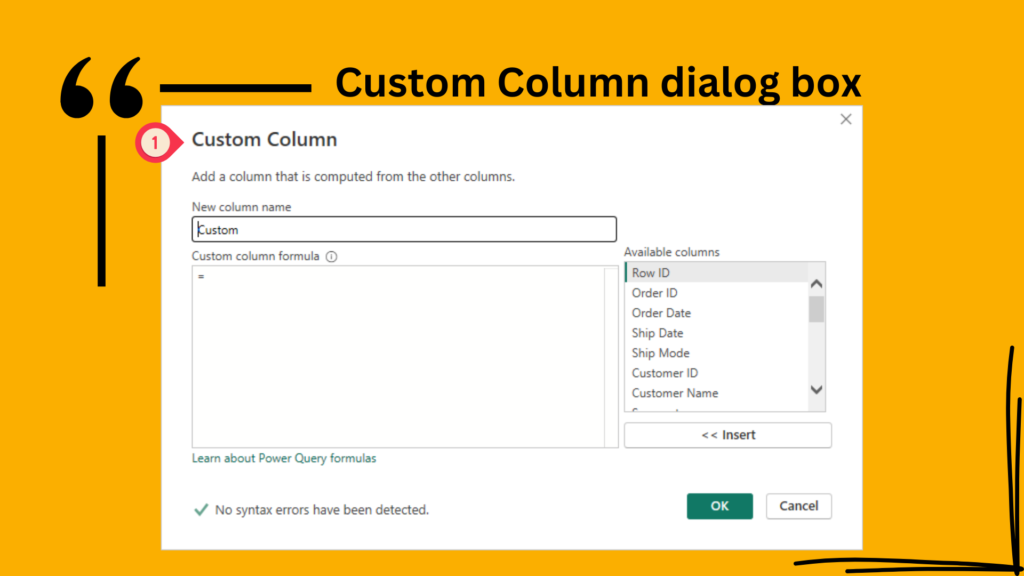
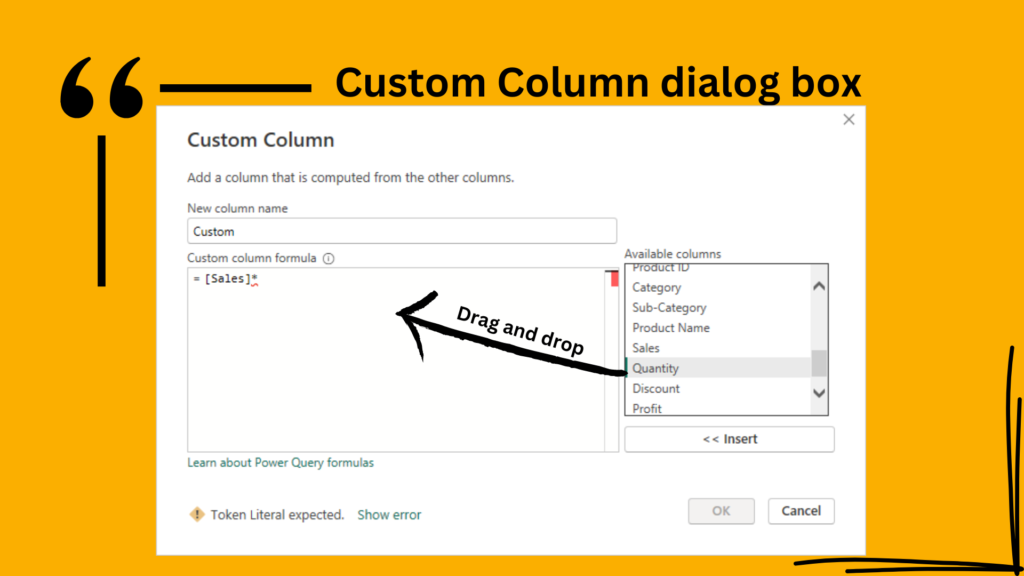
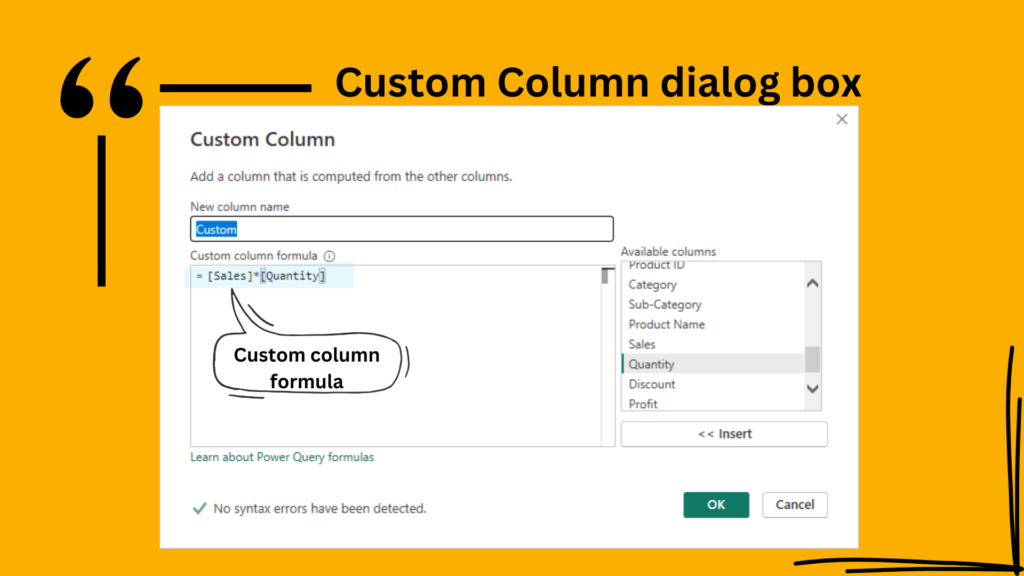
4. drag and drop columns you want to create a custom column with and add the function:
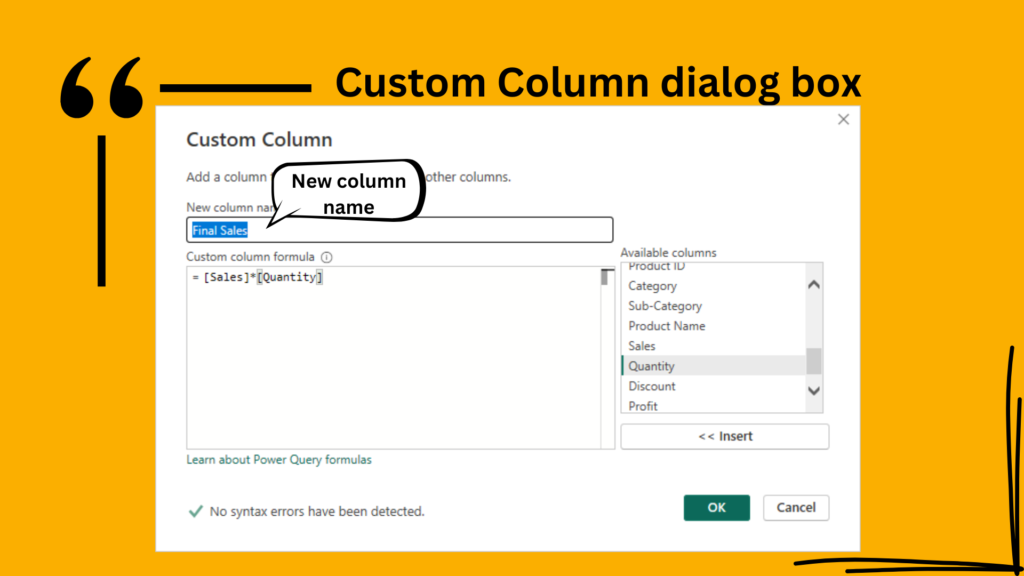
5. Name the new column:
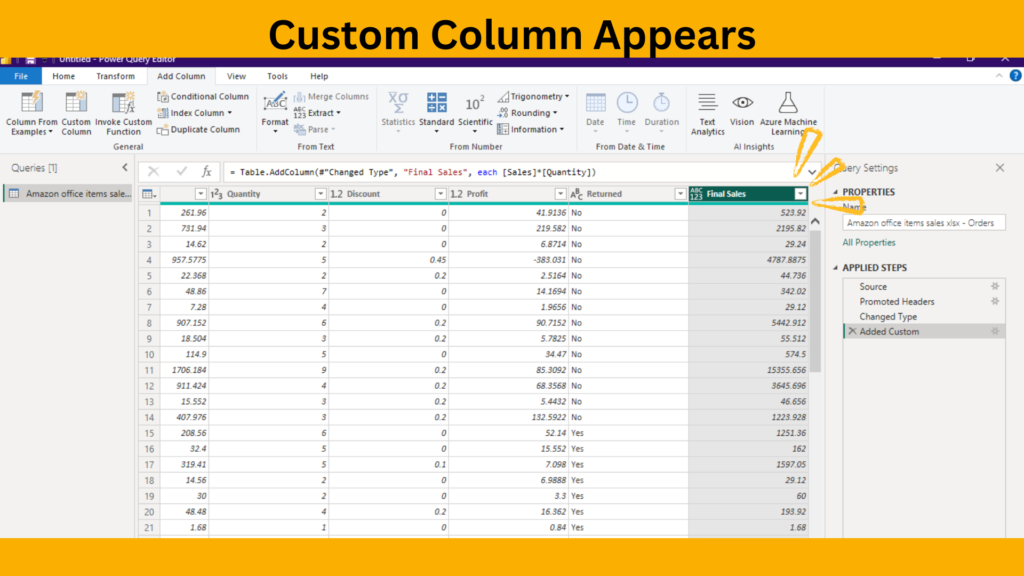
6. custom column will appear in the table:
4. Creating a Conditional Column
You can also create columns based on specific conditions.
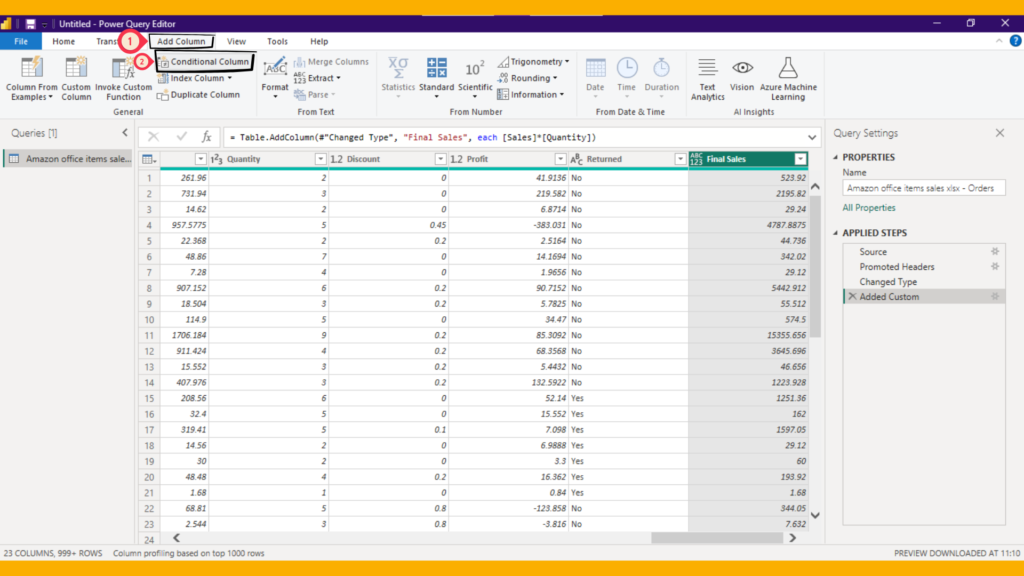
- In the Power Query Editor, go to the Add Column tab.
- Click on Conditional Column.
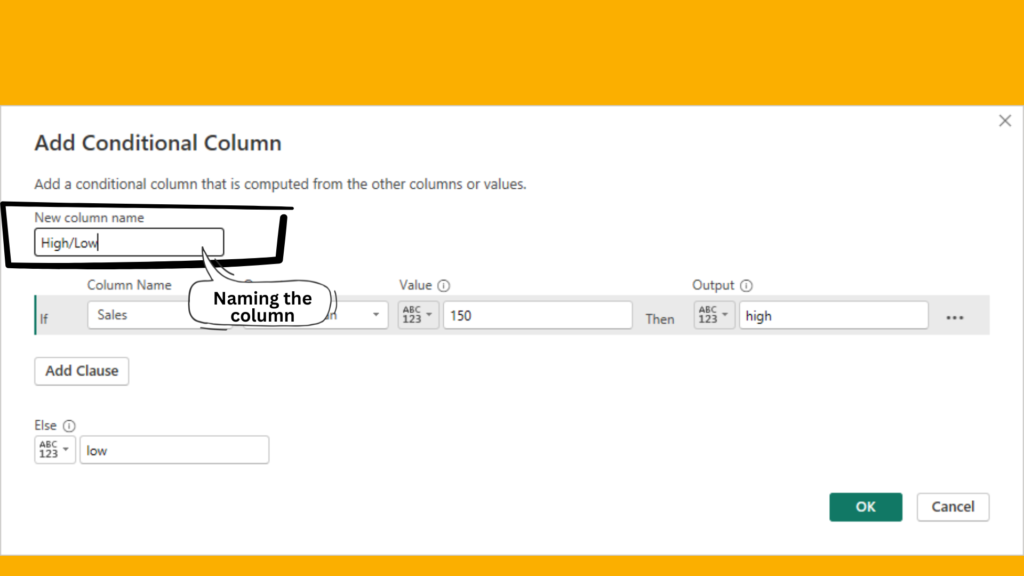
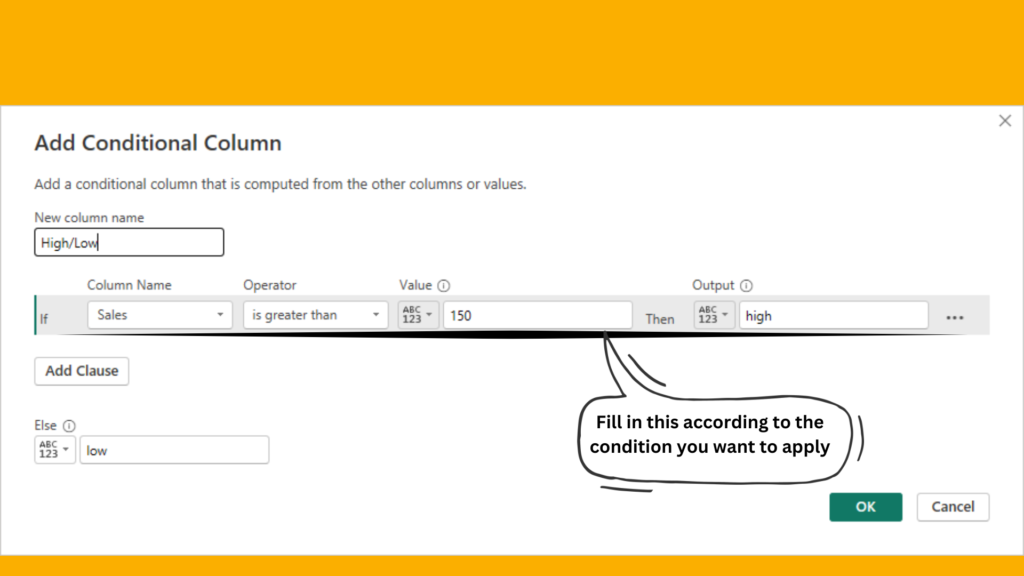
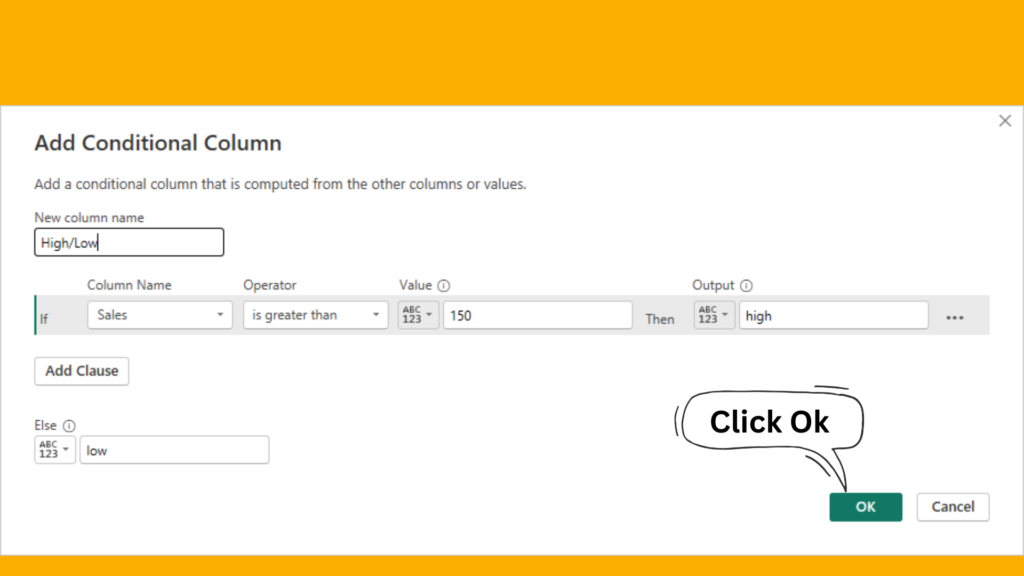
2. In the Conditional Column dialog box, enter the following details:
You can change the condition according to your requerements
3. click ok
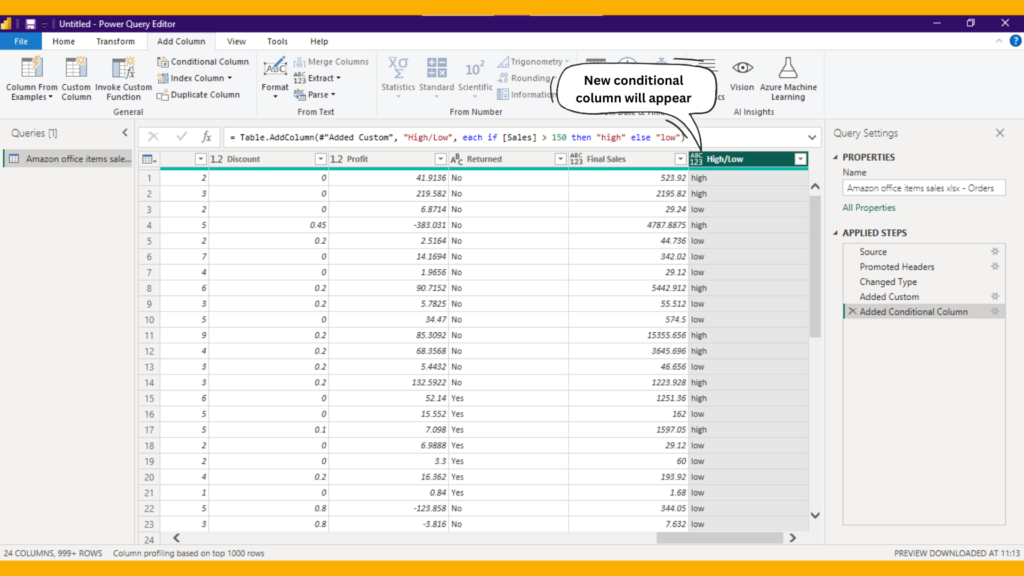
4. New conditional column will appear
5. Using DAX for Calculated Columns
In addition to the Power Query Editor, you can create calculated columns using DAX (Data Analysis Expressions) in Power BI, providing more flexibility and power in defining complex calculations.
Follow the given steps to create new column using DAX ;
- open power BI Desktop
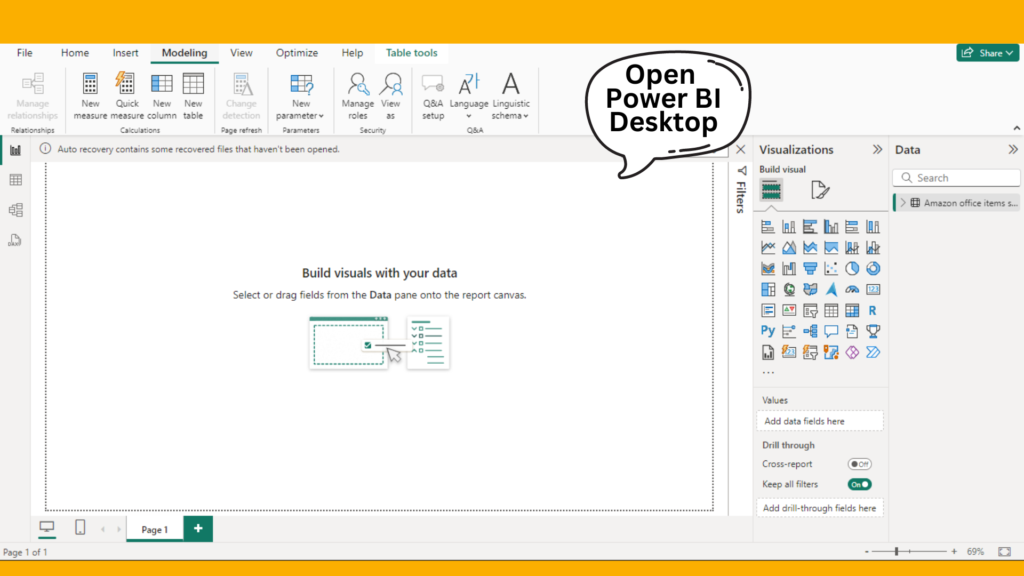
2. click new column in modeling
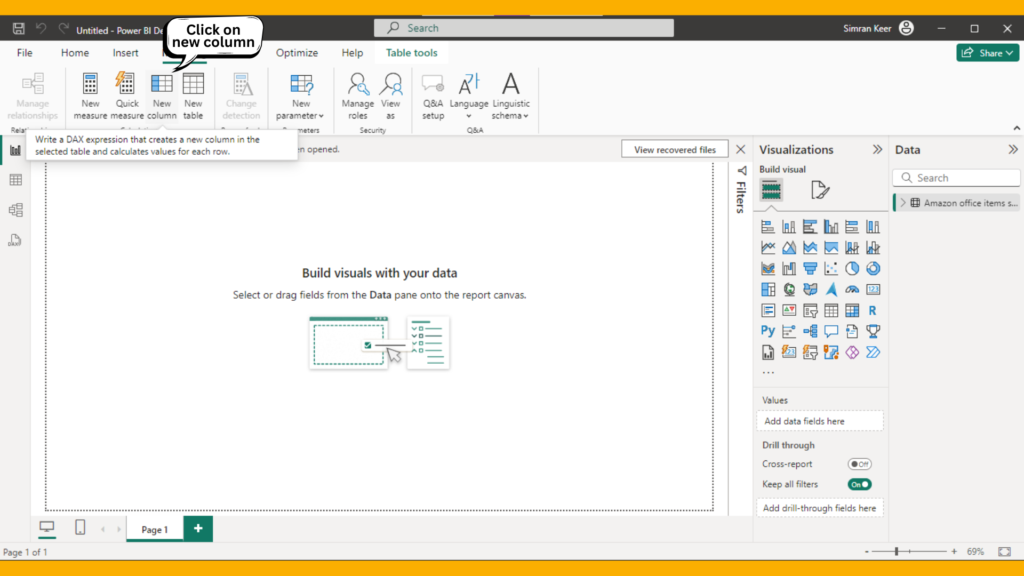
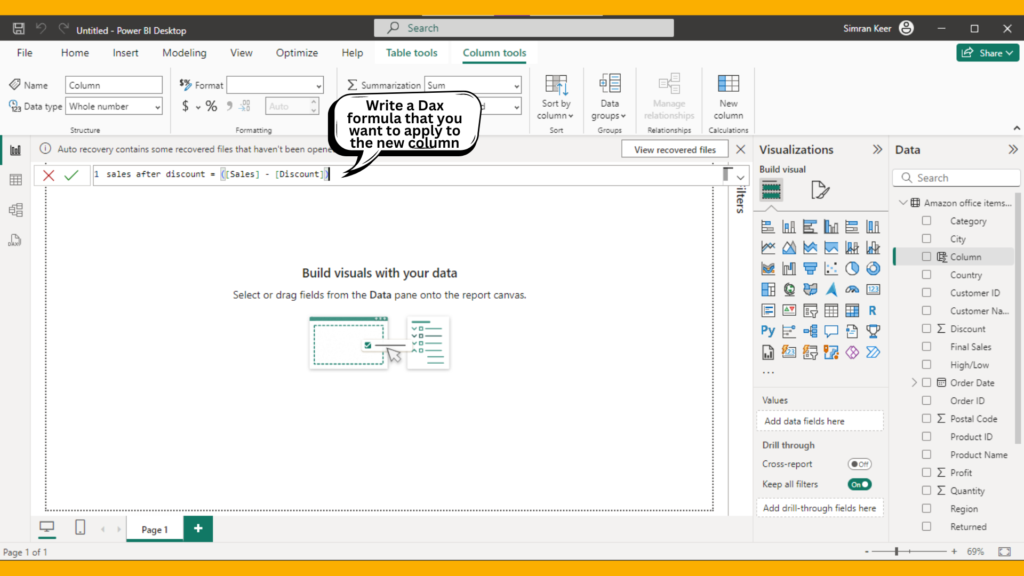
3. write DAX formula that you want to apply for the new column
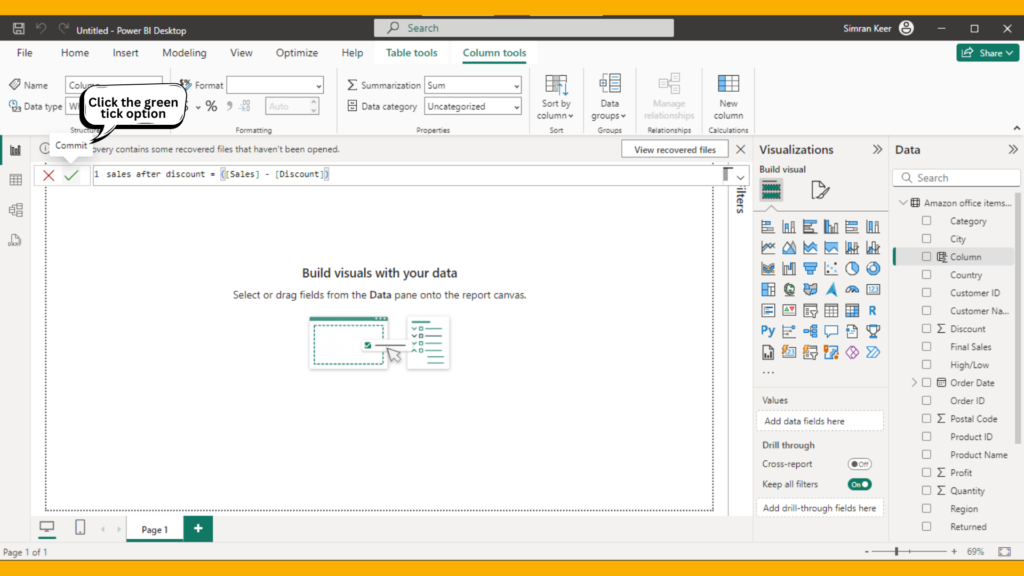
4. click commit
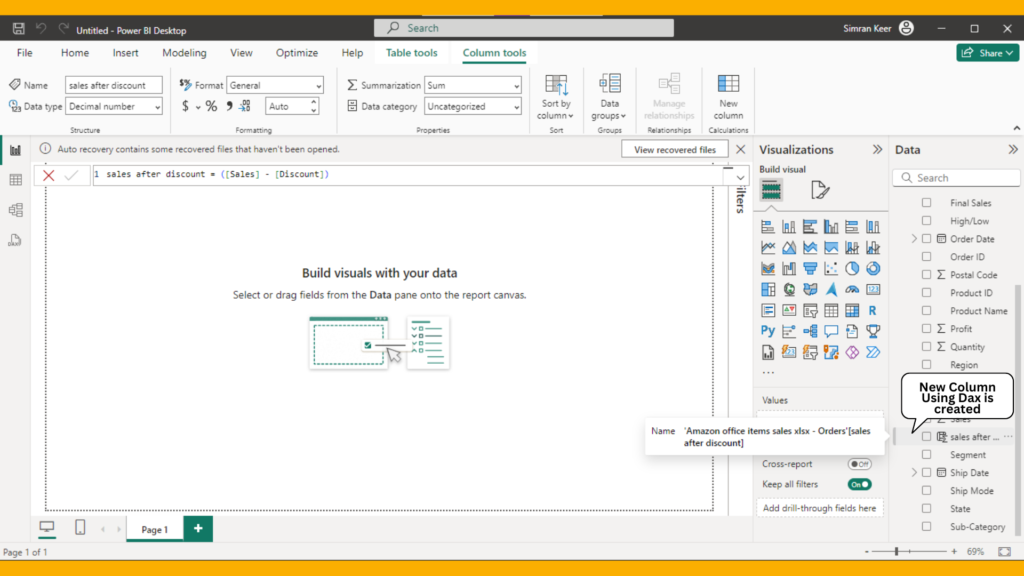
5. new column is created
Conclusion
Creating new columns in Power BI is a powerful technique for data analysts. Whether through the Power Query Editor or DAX, new columns enable deeper insights and enhance data visualization capabilities.
Frequently Asked Questions
A calculated column is created using DAX in the Data View and is evaluated for each row in the model. A custom column is created using Power Query M Language in the Power Query Editor and is part of the data transformation process before the data is loaded into the model.
Yes, you can create new columns based on conditions using the Conditional Column feature in the Power Query Editor or by writing DAX formulas in the Data View.
If you encounter errors when creating new columns, check the following:
Ensure all referenced columns exist and have the correct data types.
Validate your formulas or expressions for syntax errors.
Use the Error and Query Dependencies views in the Power Query Editor to identify and resolve issues.